Running Eclipse Che on Ubuntu with Minikube
I recently read this fascinating thread on Twitter by the user mcc:
Go ahead and read the whole thread. It’s an interesting read where mcc compares this system to Google Stadia - a system seemingly built without users wanting or needing it.
Eclipse Che
Eclipse Che is a modern take on this idea of having your development environment in the cloud. Everything is available through the browser.
(I previously wrote about how I use RStudio through the browser using Docker.)
When using Eclipse Che, it does not matter what sort of laptop you have. As long as the cluster that Eclipse Che is running on is capable enough, and your ten-year-old laptop is still capable of loading a website (admittedly one hard on the Javascript), you can develop like it’s 2020. Your whole application - frontend, backend, database, Redis maybe - runs in the Kubernetes cluster, and all you have to do locally is to have a browser.
You can run Eclipse Che on your machine by using Minikube, which is what we’re going to do in this blog post. I’m using Ubuntu 18.04.4 on my laptop, and I’ll take you through the instructions that I had to go through to try Eclipse Che locally. The things we need are VirtualBox, kubectl, minikube, helm, and chectl. Let’s see how to install all of those.
VirtualBox
The first prerequisite we need is VirtualBox. Installation instructions can be found here. The last time I went through it, the instructions were:
wget -q https://www.virtualbox.org/download/oracle_vbox_2016.asc -O- | sudo apt-key add -wget -q https://www.virtualbox.org/download/oracle_vbox.asc -O- | sudo apt-key add -sudo add-apt-repository "deb https://download.virtualbox.org/virtualbox/debian bionic contrib"sudo apt updatesudo apt install virtualbox-6.0
kubectl
The next thing we need is kubectl, the command-line tool used to interface with Kubernetes. You can follow the installation instructions from here. The last time I went through it, those instructions were:
- Download:
curl -LO https://storage.googleapis.com/kubernetes-release/release/v1.17.3/bin/linux/amd64/kubectl - Make executable:
chmod +x ./kubectl - Move it to somewhere on your path:
sudo mv ./kubectl /usr/local/bin/kubectl kubectl versionshould work and show you the version. (You may see an error about it not being able to connect to the server. Ignore that for now.)
minikube
On to Minikube. The instructions are here. Again, the instructions the last time I went through it were:
- Download and install:
curl -LO https://storage.googleapis.com/minikube/releases/latest/minikube-linux-amd64 && sudo install minikube-linux-amd64 /usr/local/bin/minikube - Verify virtualization support:
egrep -q 'vmx|svm' /proc/cpuinfo && echo yes || echo no. This should output “yes”. minikube versionshould work and show you the version.
helm
The last external dependency we need to install is Helm. Installation instructions are here. The last time they were:
- Download the “Linux amd64” version from: https://github.com/helm/helm/releases
- Untar:
tar -zxvf helm-v3.1.1-linux-amd64.tar.gz. This will give you the folder “linux-amd64”. - Move it to somewhere on your path:
sudo mv linux-amd64/helm /usr/local/bin/ helm versionshould work and show you the version.
chectl
Now we need chectl, the command-line tool used to interface with che servers. Installation instructions can be found here. The last time I installed chectl, those instructions were:
- Download:
curl -LO https://www.eclipse.org/che/chectl - Install:
bash chectl. You’ll be asked for the sudo password. chectl versionshould work and show you the version.
Start Eclipse Che
With all of that, we’re ready to play!
- Set virtualbox to be the default vm-driver for minikube:
minikube config set vm-driver virtualbox - Start minikube with enough memory:
minikube start --memory=8192. This will take some time. - Try executing
kubectl get pods --namespace kube-systemand you’ll see that Kubernetes is up and running. - Start the che server:
chectl server:start --platform minikube --installer operator - Try executing
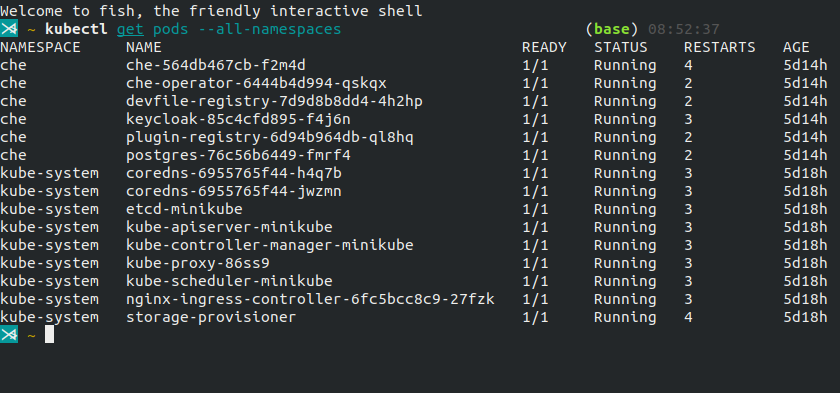
kubectl get pods --namespace cheand you’ll see that che is up and running.
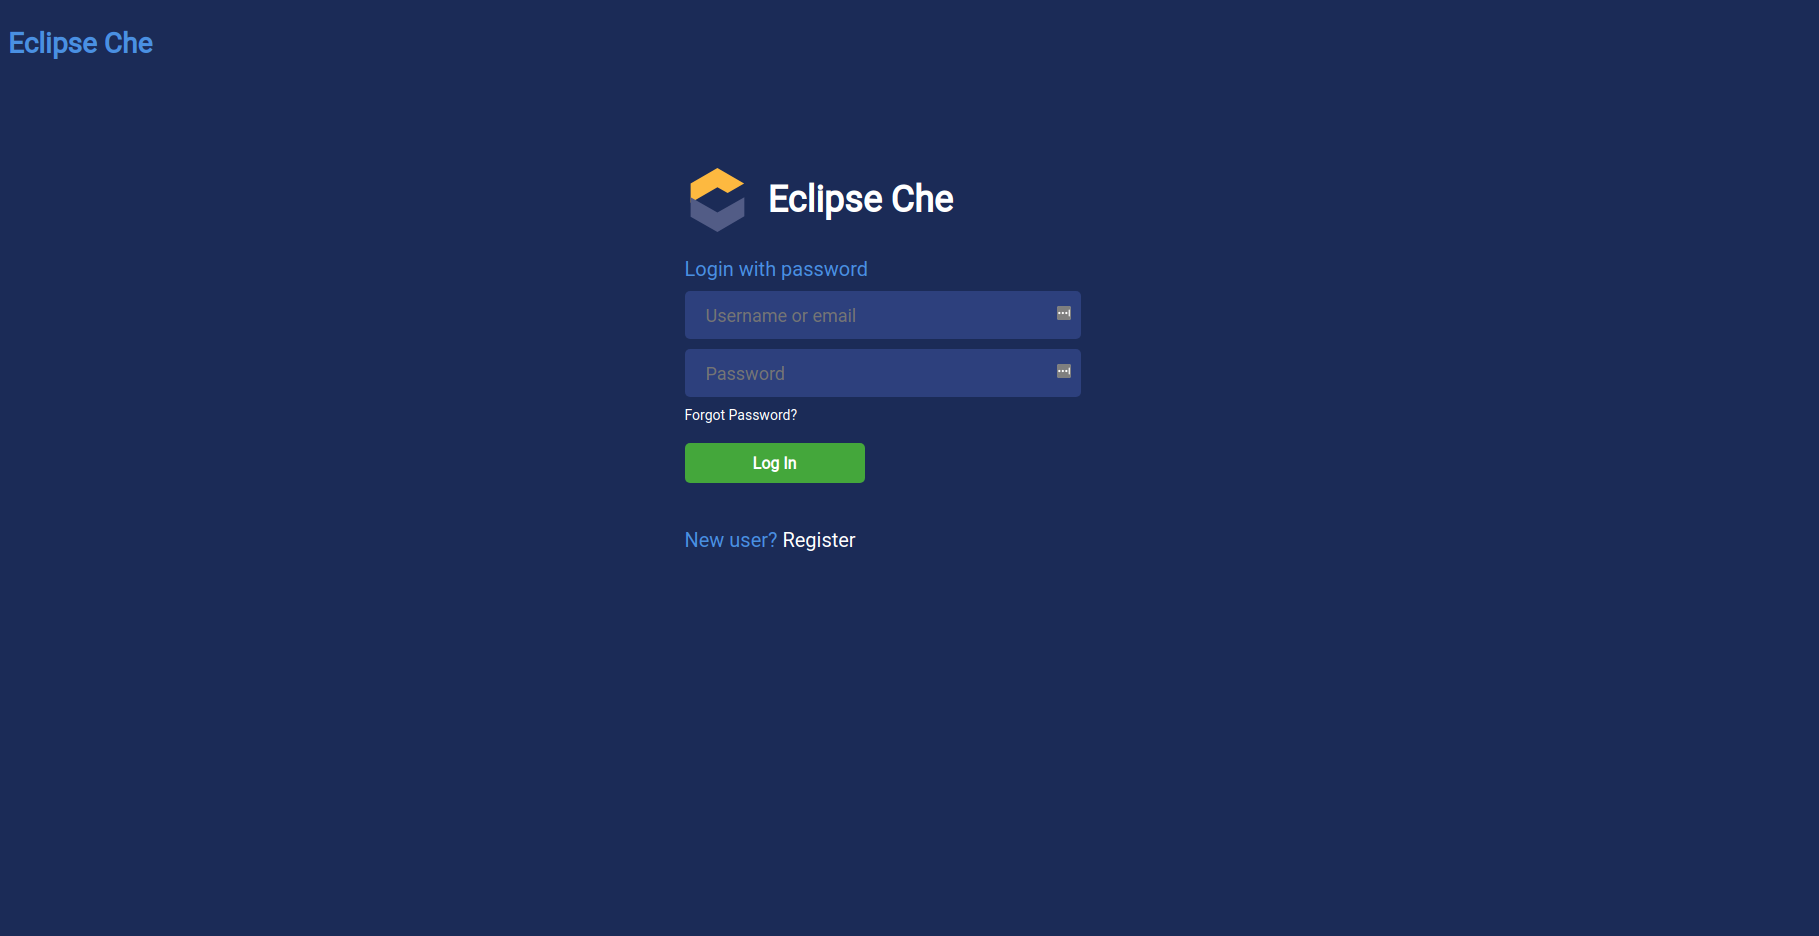
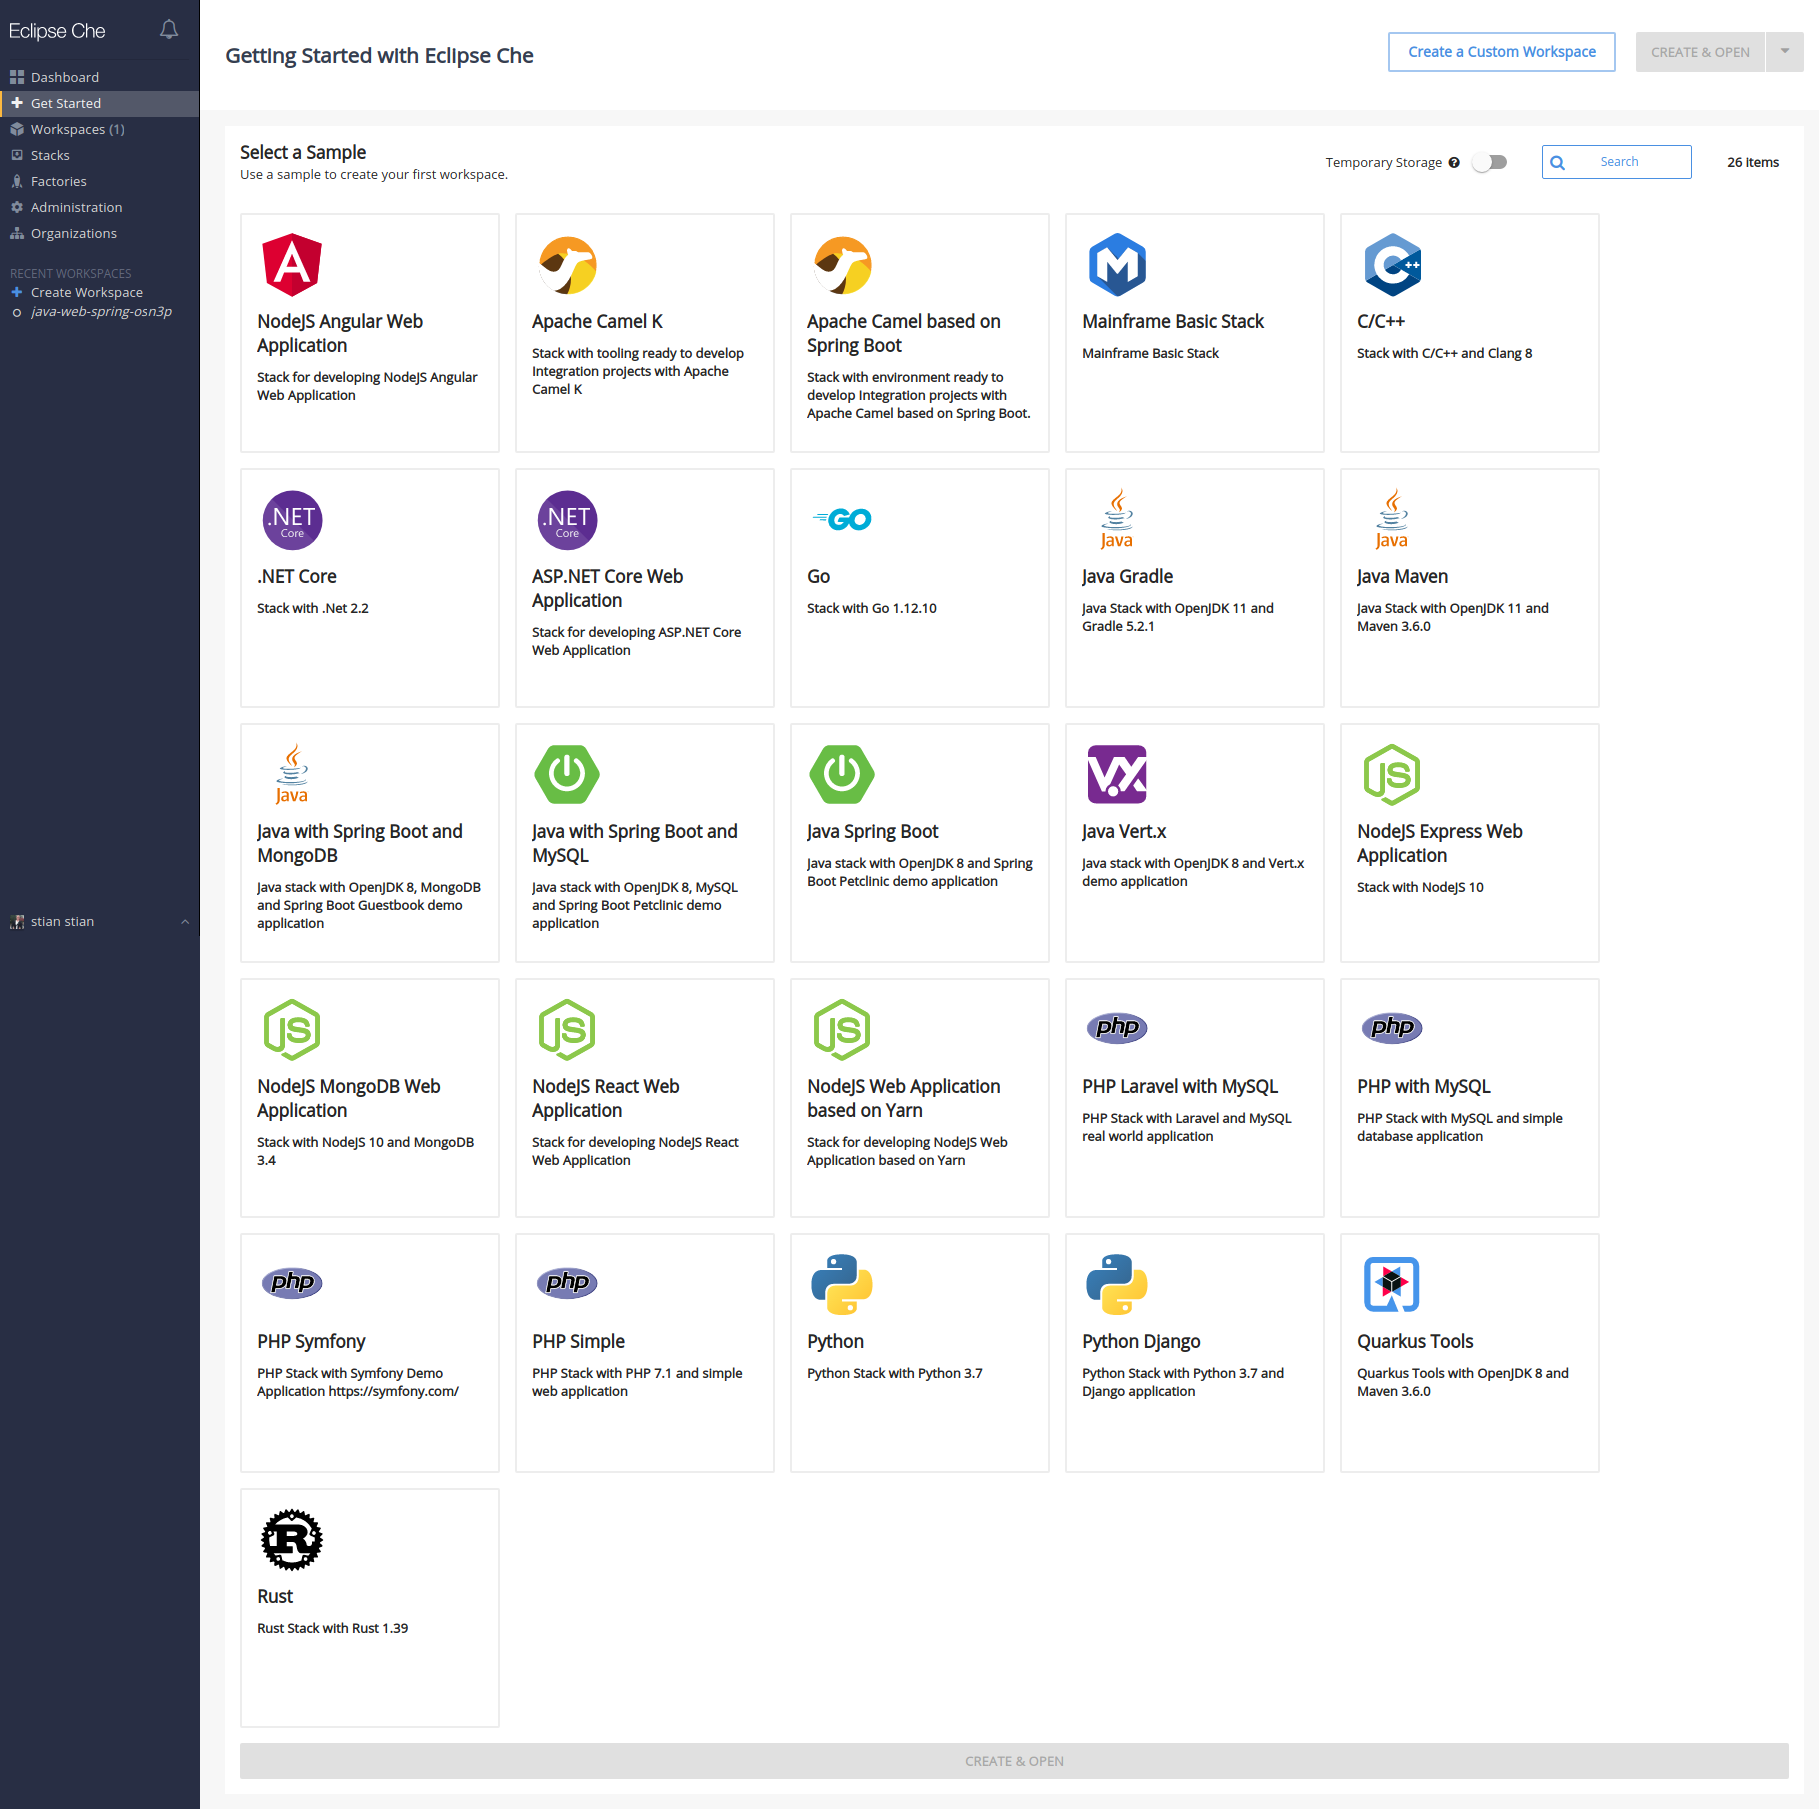
That chectl server:start-command should give you a localhost URL like http://che-che.192.168.99.101.nip.io. Open that URL, register a user, and you should end up in the Che dashboard ready to start! This is what it looks like to me:
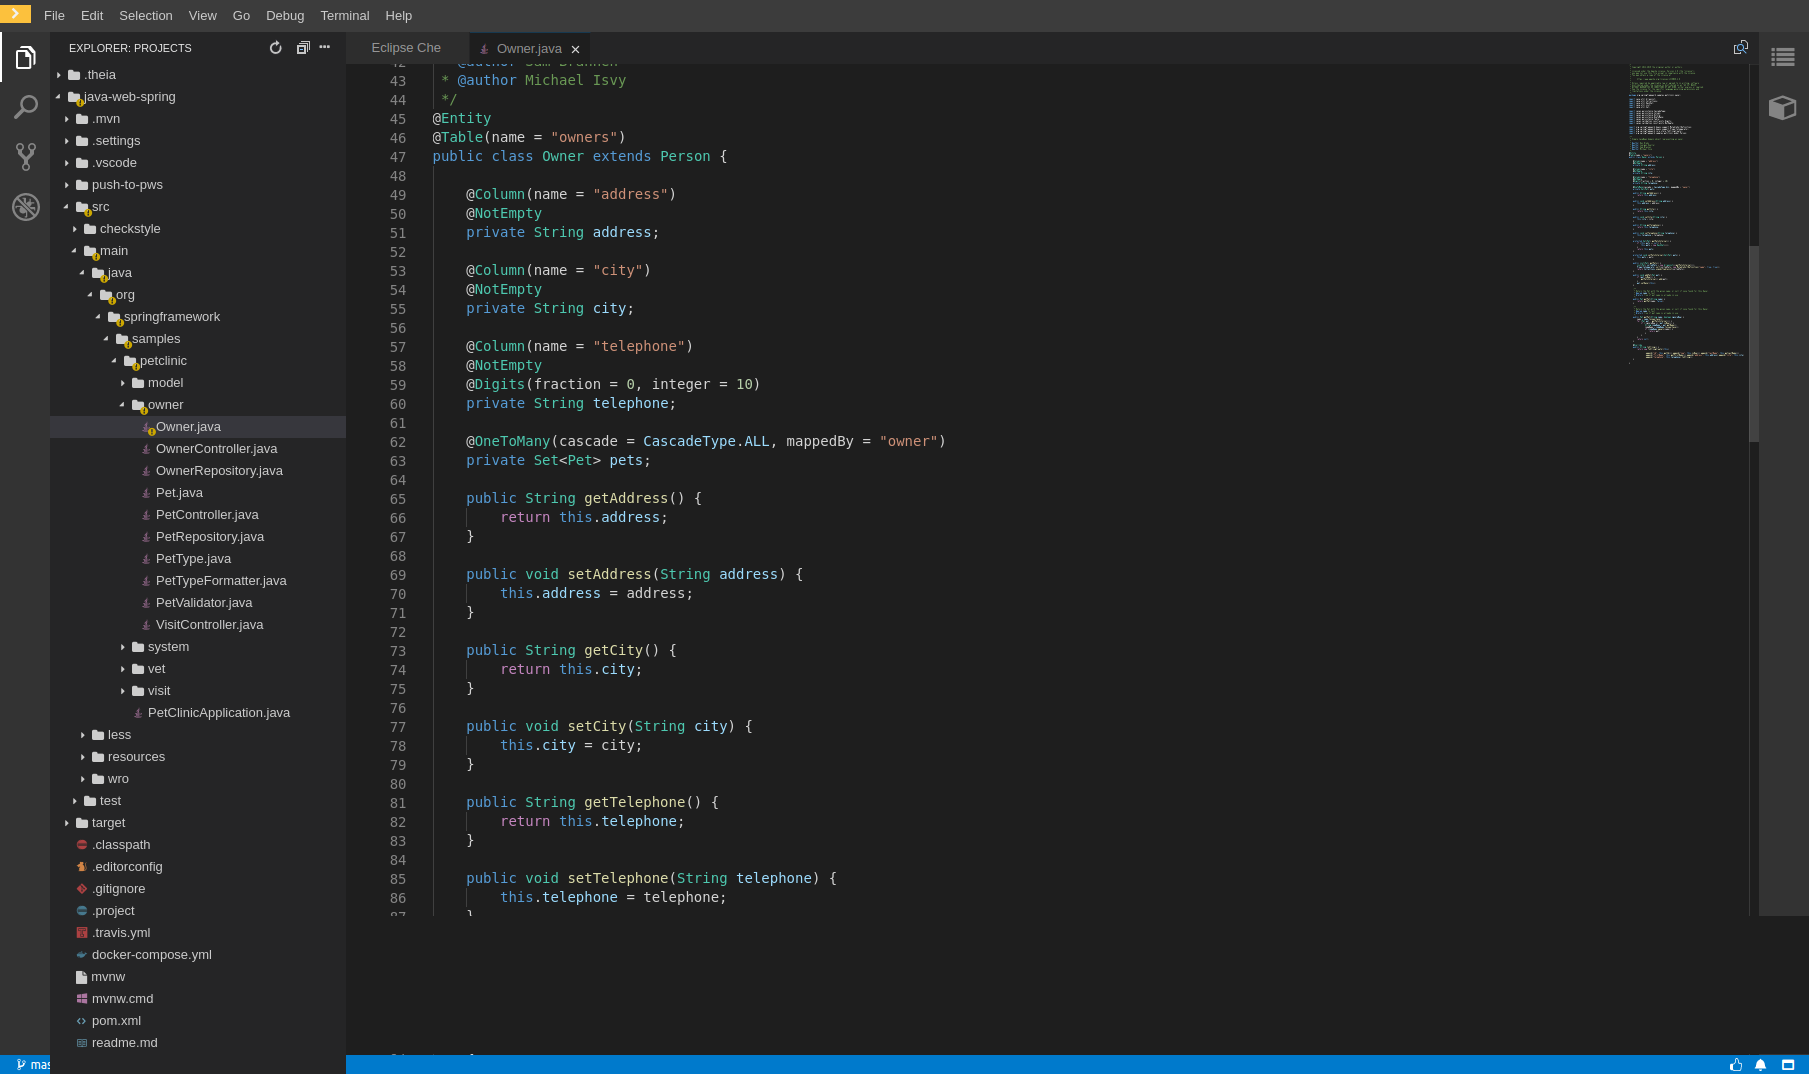
After creating a workspace, you’ll have a complete development environment. Here’s what it looks like:
Stopping Eclipse Che
The command chectl server:stop will stop che, and the command minikube stop will take down the Kubernetes cluster.
Learn more
I hope that this sparked your interest and that you want to learn more about Eclipse Che. The best source is the Eclipse Che website itself, but there are also some nice videos available on YouTube. Here’s one:
Version information
Here are the versions of the tools used in this post:
- VirtualBox: 6.1.4 r136177 (Qt5.9.5)
- kubectl: v1.17.3
- Minikube: v1.7.3
- Helm: v3.1.1
- chectl: chectl/7.9.0 linux-x64 node-v10.19.0